Hexagon Flower Garden Quilt: A Finish

Hooray! A Finish! Finishing a quilt is so satisfying. Putting the last stitches on a binding and standing up to shake it out, lay it down on the floor and take a good long look.


The first inkling of a quilt is so magical - and this first look of a finished quilt is also that way. The colors coalesce, the pattern emerges and the binding makes a frame to ground the life within it.


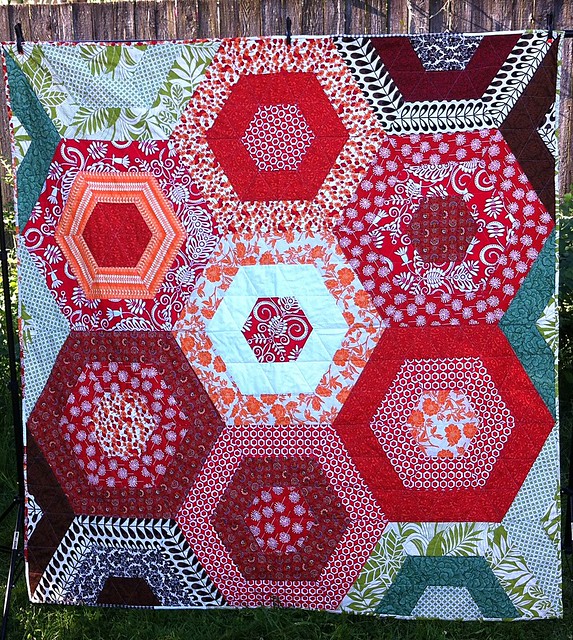
This hexagon flower garden is for a dear friend and her family as part of our bartering deal. She made me a branding package for Blue Bird Sews (banner above!!) and I made her a quilt. She choose the design and steered me to the colors and patterns she likes. The rest was up to me. I've been working on it for a while, find more about this quilt at my earlier post.

Scrappy hexagons are unified by colors and quilting. Bright red and orange pop this quilt into hyper color with the spots of brown and green bringing it back down to earth and foliage.


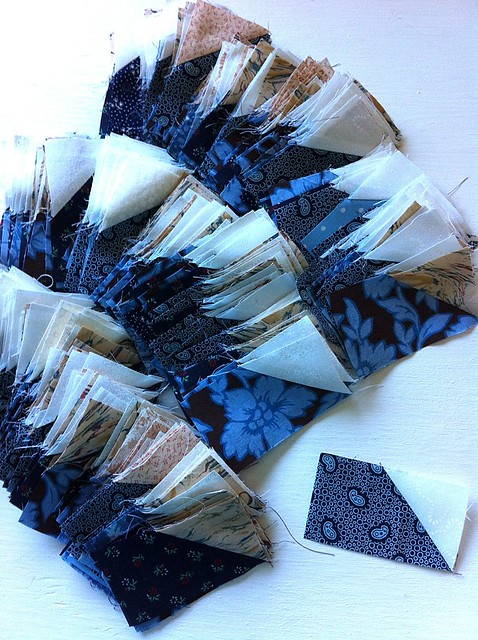
I put on the walking foot for straight line quilting in an all over triangle pattern; mostly following along lines of the hexagons. I used masking tape to get the first set of lines started and then by the end I was eye-balling it. I hope I'm not the only one to to this...is this where 'organic quilting' comes from? he.hee


A little special touch of quilting was done in the very center hexagon; interlocking petals for a flower in red thread. Binding was made from scraps and hand sewn on. The back is a favorite is great! Using the leftovers and scraps I stitched up the back for a modern quilt finish.


Washed and packaged up; on the way to it's new home across the United States. To be loved, washed and loved again.

Sexy Hexy Love - Flower Quilt

Cheers,

Kelly

ps. thought I should mentioned I've made this pattern before. Check it out here.


New Technique for flying geese


Well, new to me technique. I was stalled on my cowboy wild goose chase quilt for my little boy. I have about a thousand flying geese to make. Small flying geese, like 2"x 3.5". It was a bit discouraging. But after making about 8 blocks by eye-balling it (i live my life by the eye-ball method) I had to step away and think. I did not want to mark each square - twice in fact! So I waited and then I saw this method on Pinterest and it was a game changer for this quilt. 

The photo above it not the best I am sorry for that, but under my fingers is a piece of lightweight cardboard. That dark line next to the needle is my mark for cutting out said piece of cardboard. Take the piece and line it up from corner to corner of the square then simply follow the edge of the cardboard from point to point. So simple it's crazy! And no marking. 

Flying geese progress

Bam! Problem solved, WIP progress made. I've got all of the geese half way sewn up. A nice straight edge on each. Sometimes a WIP quilt that has stalled out just needs a little trick to get it going again. This new technique saved my sanity. 

What's your best trick? Let me know!

Cheers!
Kelly